

Your first plan
In this tutorial you draw one room from start to finish: a bedroom 12 feet by 10 feet, with a door, a window and a double bed. Along the way you meet the tools you will use in every plan: the wall tool, the Rooms tool, doors and windows, the furniture library, the 3D view and the share link.
It takes about fifteen minutes. There is nothing to install and no account to make.
What you’ll make
Section titled “What you’ll make”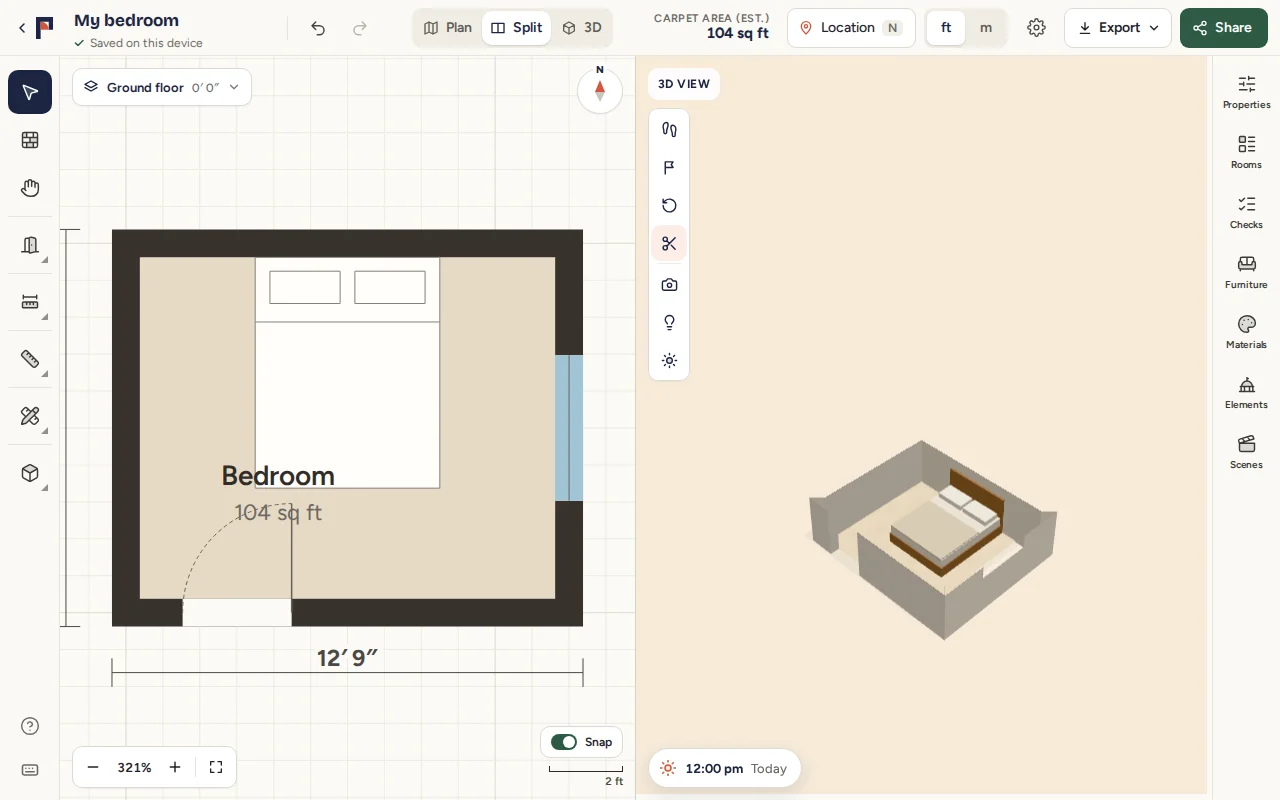
By the end you will have a plan called “My bedroom”. You can open it again on this device, look round it in 3D, and send it to anyone as a link.
Before you start
Section titled “Before you start”- A computer with a mouse or trackpad, and a recent web browser. Piantina works on phones too, where the tools sit in a bar along the bottom of the screen, but this tutorial follows a computer.
- Nothing else. Piantina runs in the browser. The plans you make are kept on your device, in the browser you make them in.
Open Piantina in a new tab and keep this page beside it, so you can follow each step as you read:
Opens Piantina in a new tab, in your language. Keep this page open beside it.
-
Open your plans
Section titled “Open your plans”Go to piantina.in and press Start sketching. You can also go straight to piantina.in/plans.
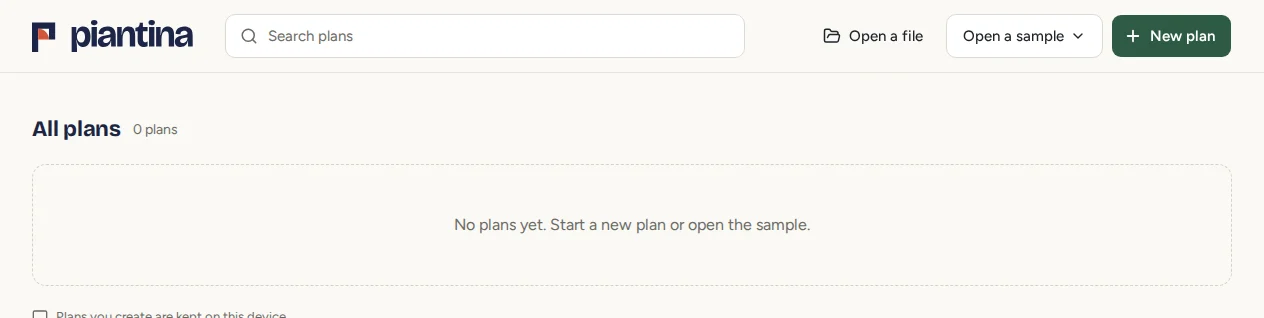
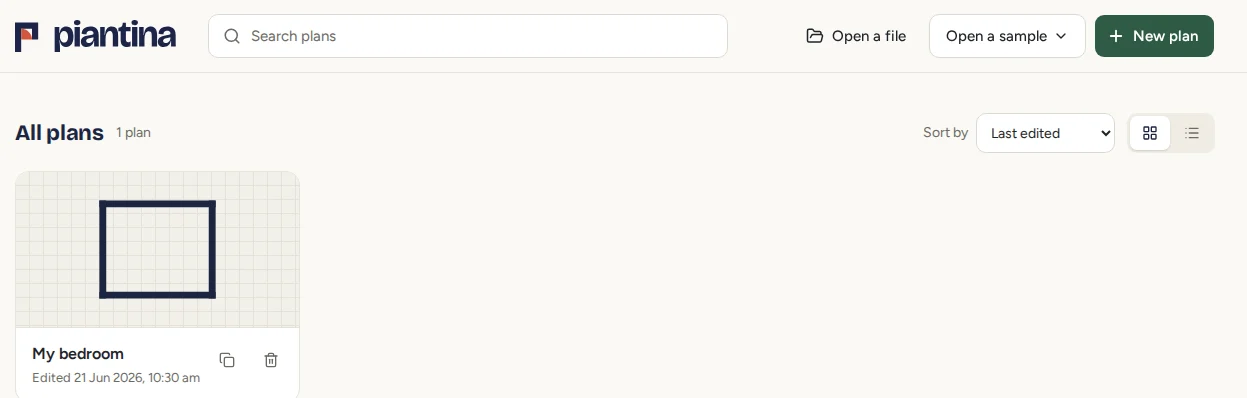
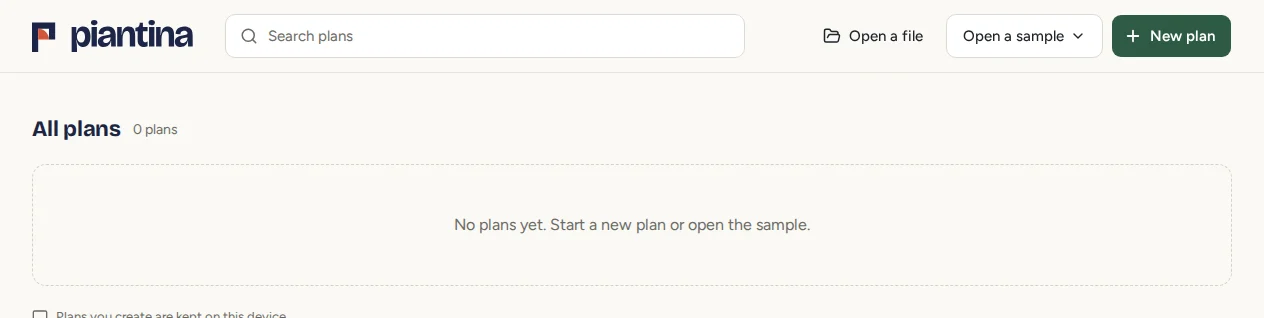
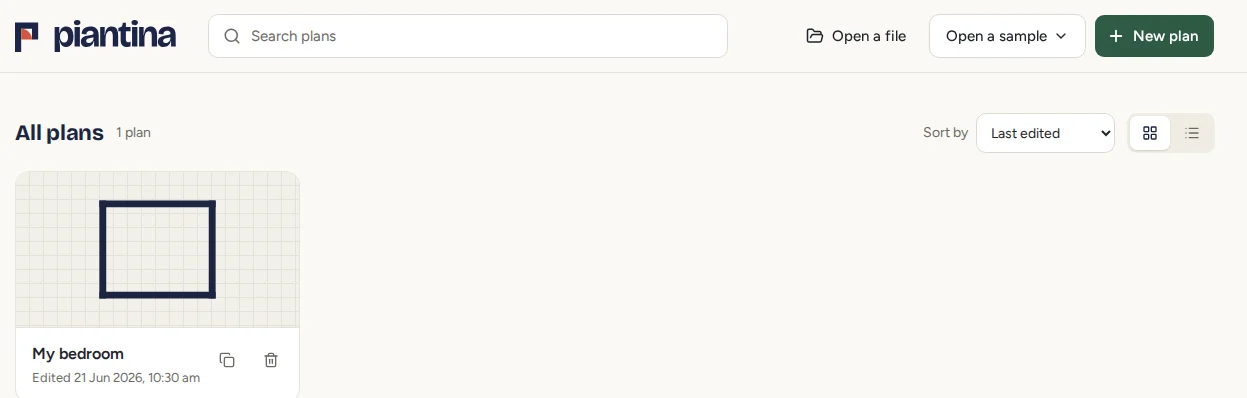
This is the plans page. Every plan you make on this device is listed here, the one you edited last first. On a device that has never used Piantina, it is empty.
-
Start a new plan
Section titled “Start a new plan”Press New plan at the top right. A new, empty plan opens in the editor.
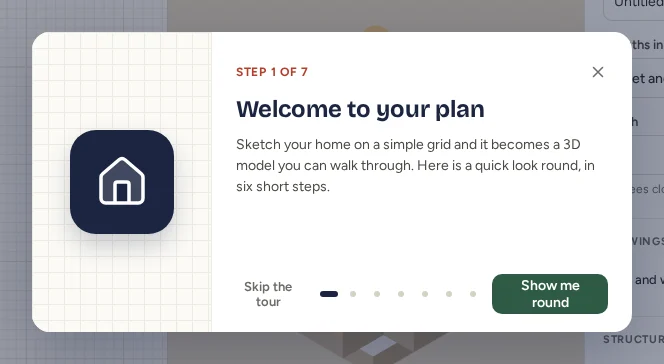
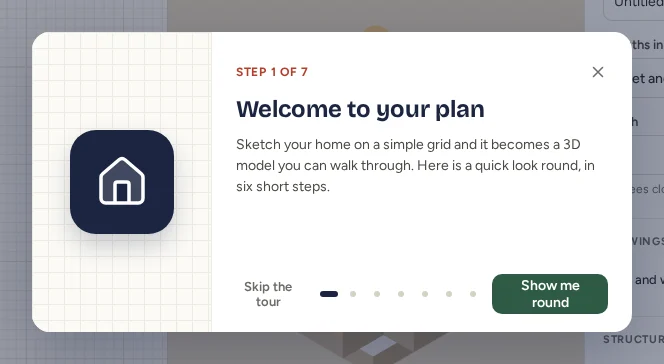
The first time a plan opens, the welcome tour appears over it: seven short cards that point out the main parts of the editor. Press Show me round to take the tour, or Skip the tour to go straight to drawing. For this tutorial, skip it. You can take the tour later with the Welcome tour button at the bottom of the toolbar on the left.
-
Find your way round the editor
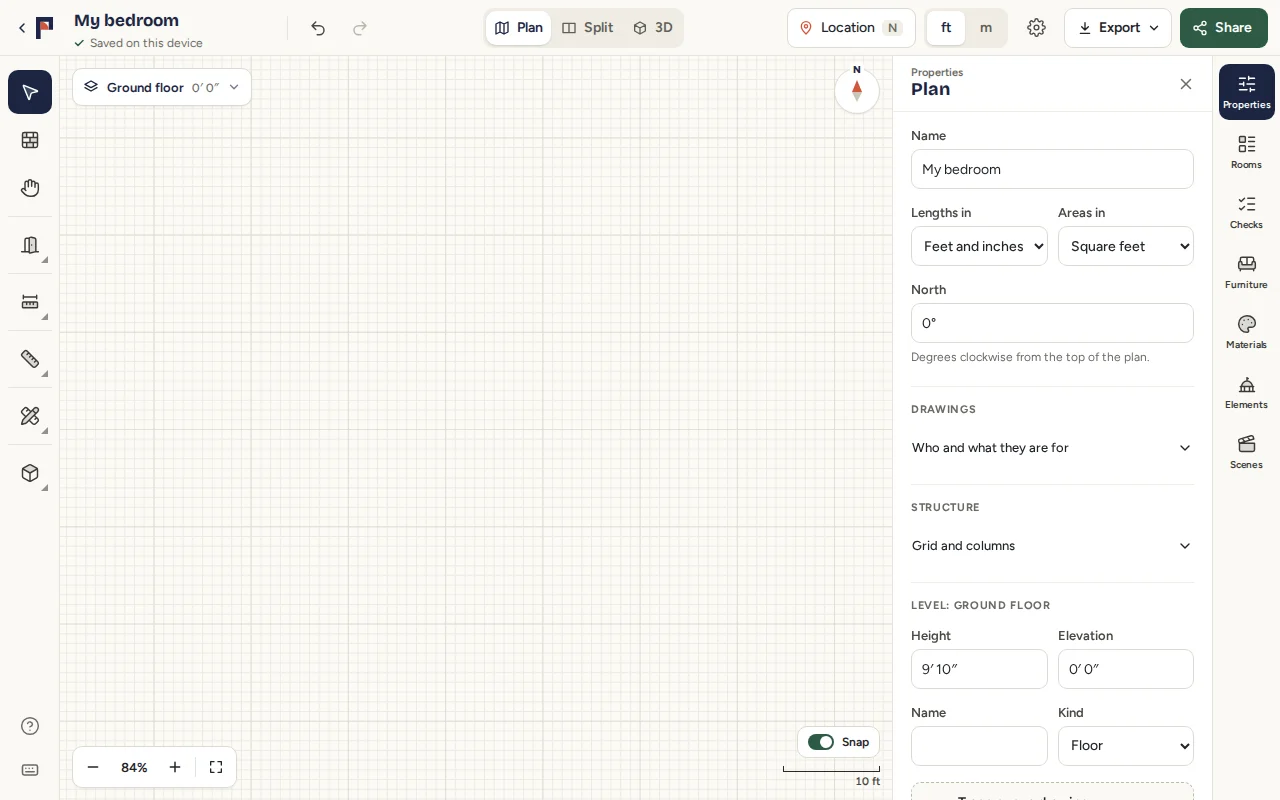
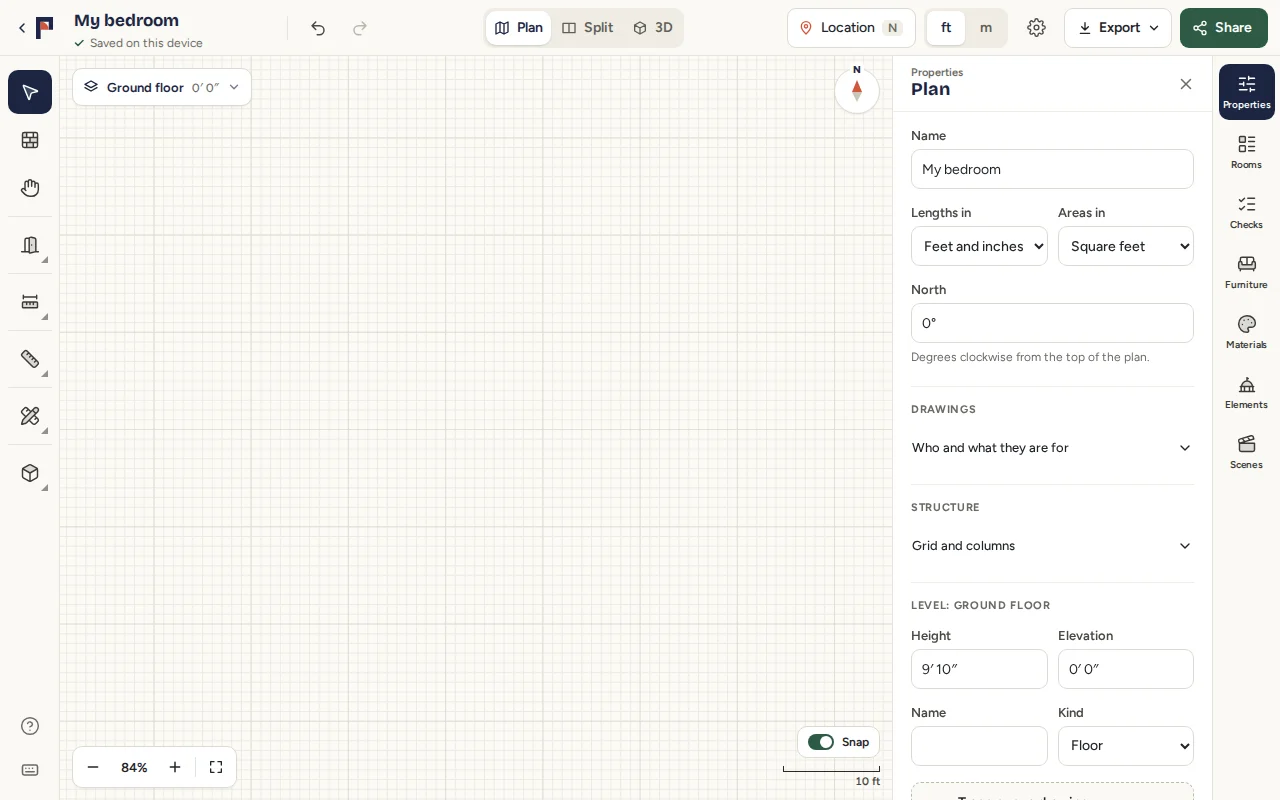
Section titled “Find your way round the editor”The editor has four parts:
- Along the top: the plan’s name, with whether it is saved underneath; undo and redo; the three views, Plan, Split and 3D; the plan’s location; feet or metres; settings; Export; and Share.
- On the left: the drawing tools. Rest the pointer on a button to see its name. A button with a small triangle in its corner opens a group of tools.
- In the middle: the plan, drawn on a grid. The scale bar at the bottom right shows how long a stretch of the grid is. The buttons at the bottom left zoom in and out.
- On the right: the panels. Properties shows the settings of whatever you have selected, or of the whole plan when nothing is. Below it are Rooms, Checks, Furniture, Materials, Elements and Scenes. Press a panel’s button again to close it.
Now give the plan a name. Click Untitled plan at the top left, type My bedroom and press Enter.
Then press Plan at the top, so that the plan has the whole middle of the screen while you draw.
-
Draw the first wall
Section titled “Draw the first wall”Press Draw walls on the left, or the W key.
- Click once on the grid where the top left corner of the room should be. That starts the wall.
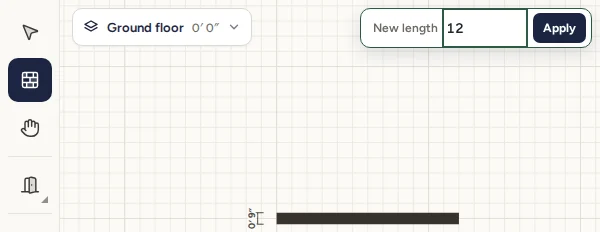
- Move the pointer to the right. A wall follows it, and a small box, New length, appears at the top of the plan.
- Type 12 and press Enter.
The wall is drawn exactly 12 feet long, in the direction of the pointer, and the next wall starts at its end.
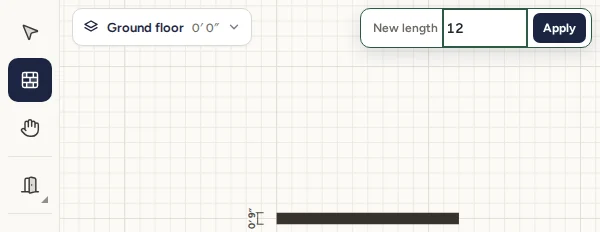
Lengths are measured along the middle of each wall. New walls are 9 inches thick, a full brick, so the room inside comes out a little smaller than the lengths you type. You can choose another thickness for new walls in Settings, on the Drawing tab.
-
Draw the other walls and close the room
Section titled “Draw the other walls and close the room”- Move the pointer down, type 10 and press Enter.
- Move the pointer to the left, type 12 and press Enter.
- For the last wall, don’t type: click the first corner, where you started. The end of a wall always snaps onto a corner near it, so you don’t have to hit it exactly.
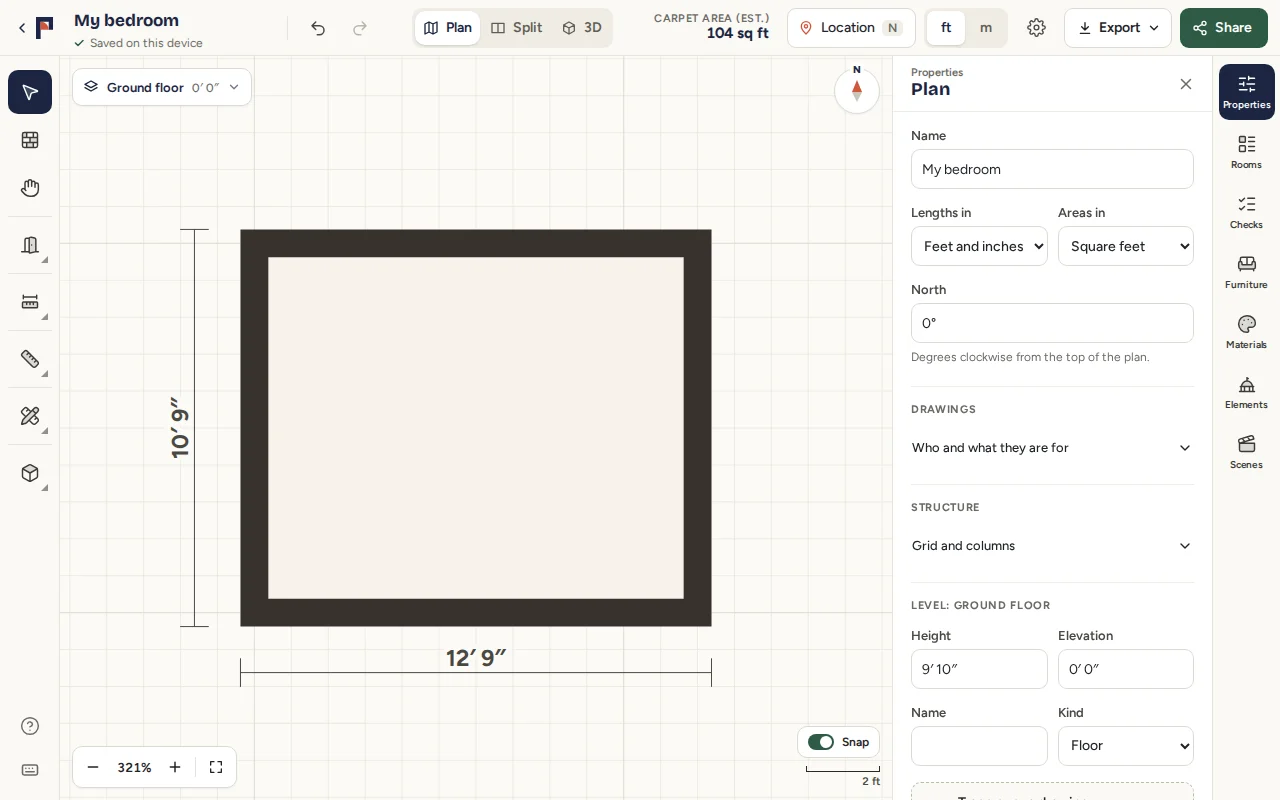
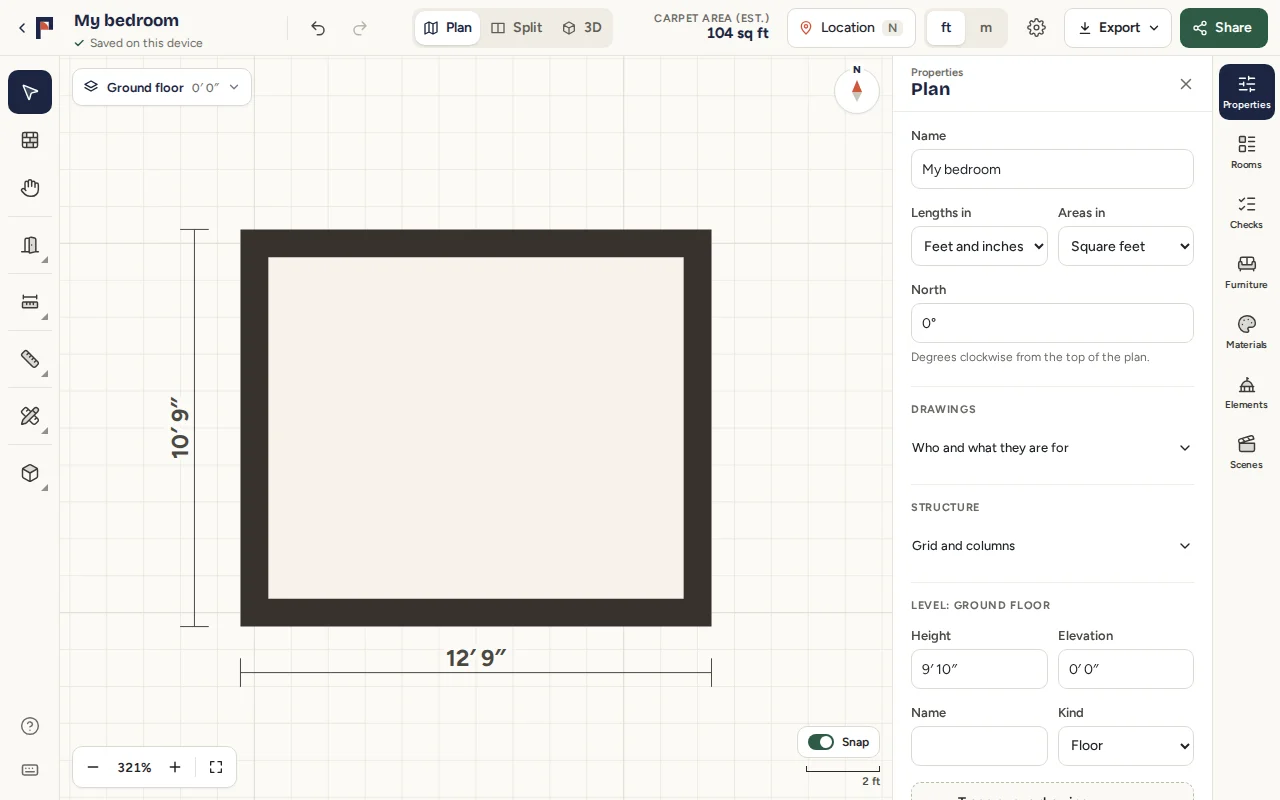
When walls close round a space, Piantina makes it a room: the floor fills in, and the walls’ overall sizes appear beside them, 12′ 9″ by 10′ 9″ from outside face to outside face.
At the top of the screen, Carpet area (est.) now reads 104 sq ft. That is the floor inside the walls, 11′ 3″ by 9′ 3″. As its name says, it is an estimate from your drawing.
Press Esc to put the wall tool down. Esc always takes you back to Select. If the room is off the screen or small, press Fit the plan to the screen at the bottom left.
-
Name the room
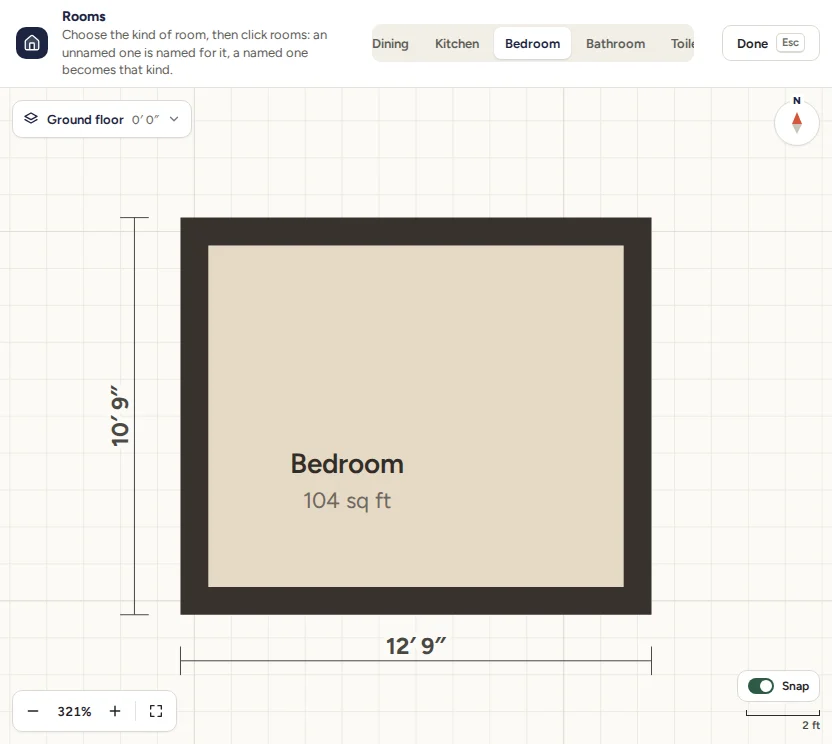
Section titled “Name the room”On the left, press the button with a door on it: its name is Place. It opens a group of tools. Choose Rooms, or press N.
A bar appears at the top of the plan, with the kinds of room to choose from. Choose Bedroom, then click inside your room. The room is labelled Bedroom, with its floor area under the name.
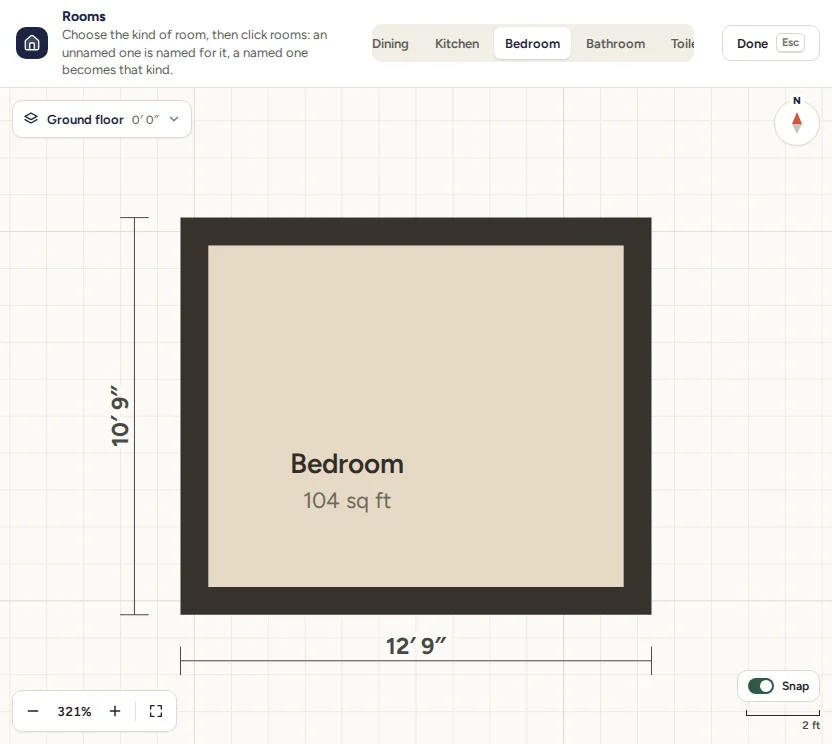
A room’s name appears on the plan and in the Rooms panel, and the Furniture panel puts what usually goes in a bedroom first.
-
Put in a door
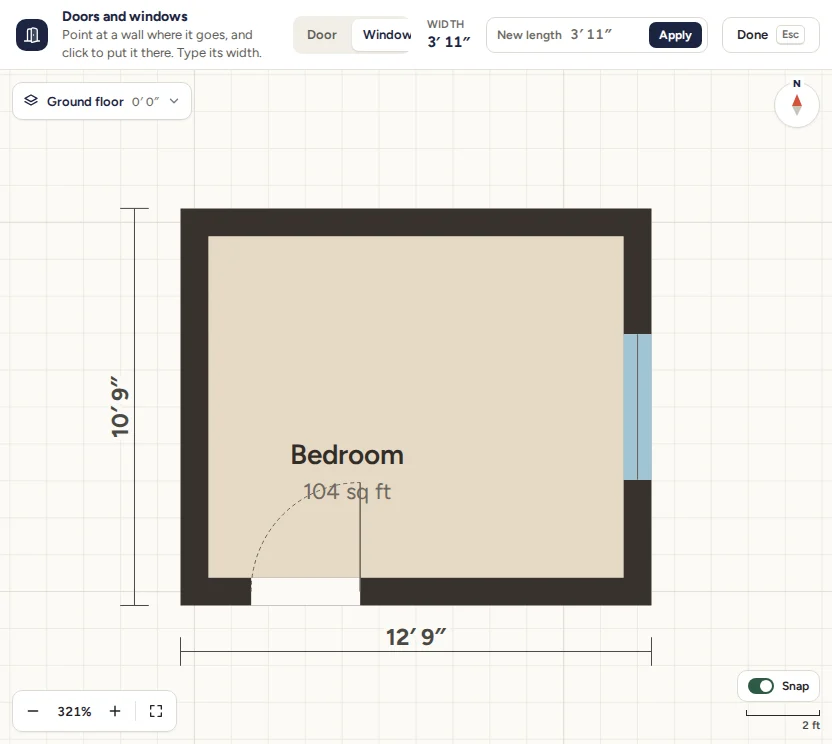
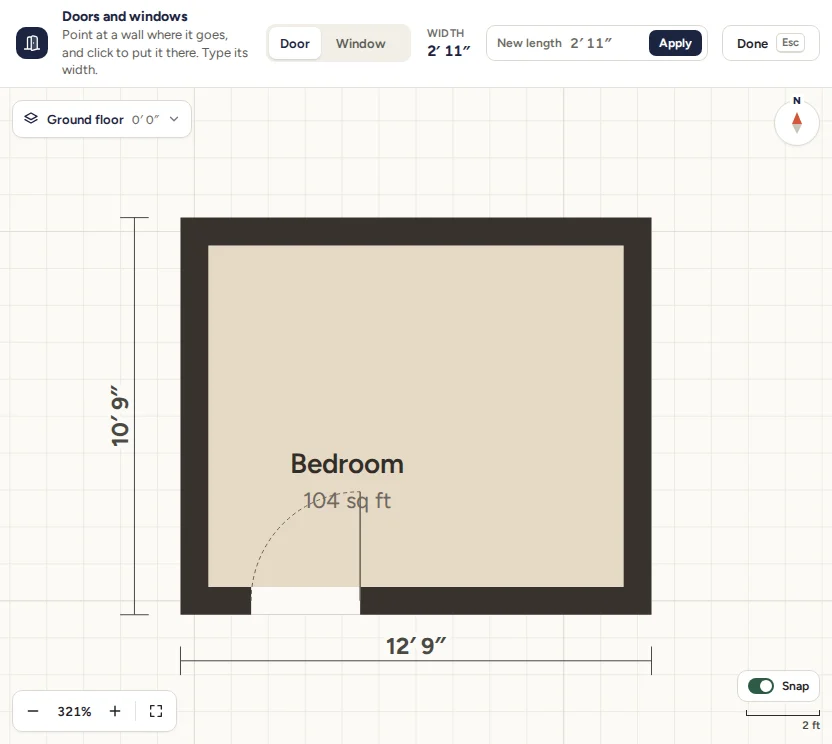
Section titled “Put in a door”Open Place again and choose Doors and windows, or press O. The bar at the top says what to do:
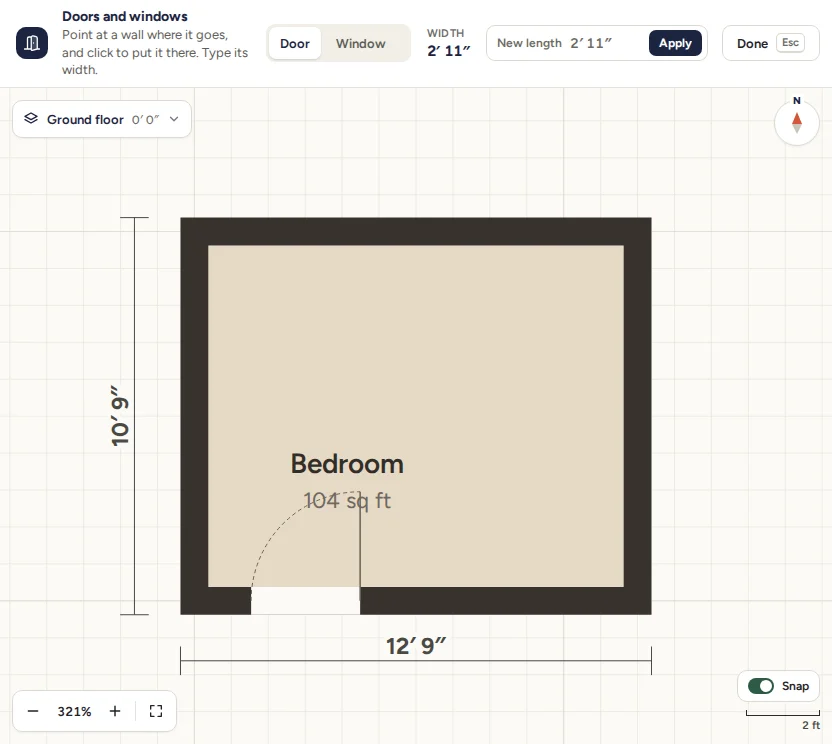
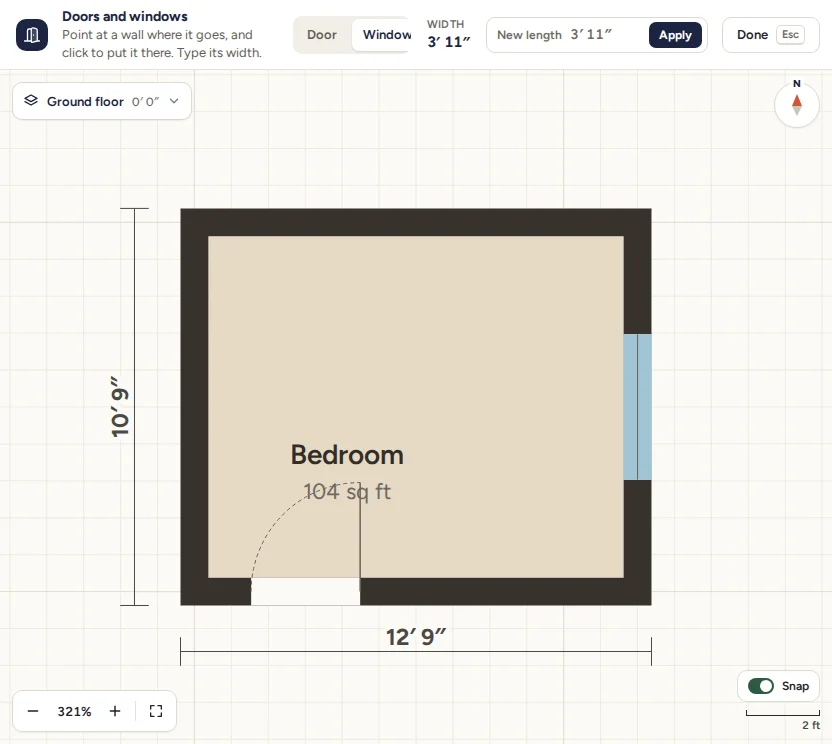
Door is already chosen. Point at the bottom wall, near its left end. The door appears there and slides along the wall with the pointer. Click to put it in.
A door starts 2′ 11″ wide. For another width, type it before you click, as you did for the walls.
-
Put in a window
Section titled “Put in a window”With the same tool, choose Window in the bar at the top. Then click the middle of the right hand wall. A window starts 3′ 11″ wide.
Press Done, or Esc, when you have finished.
-
Add a bed
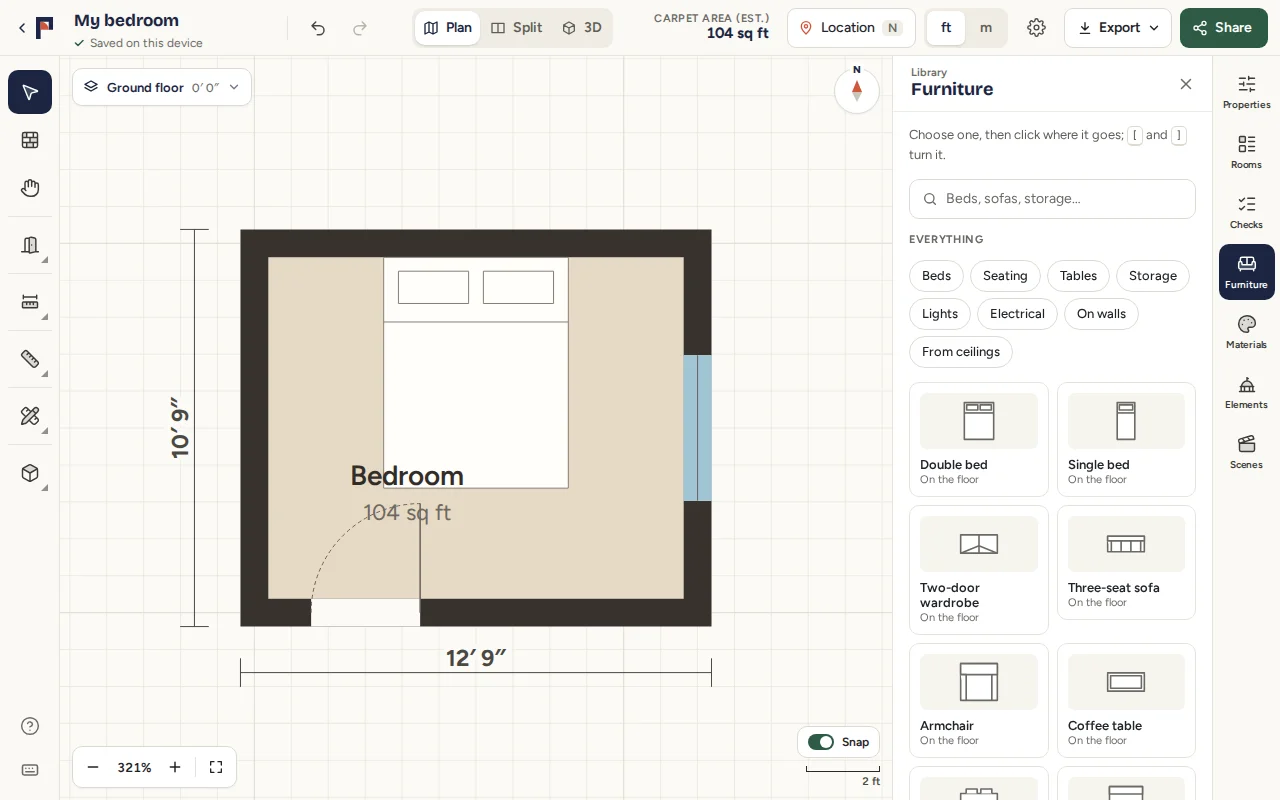
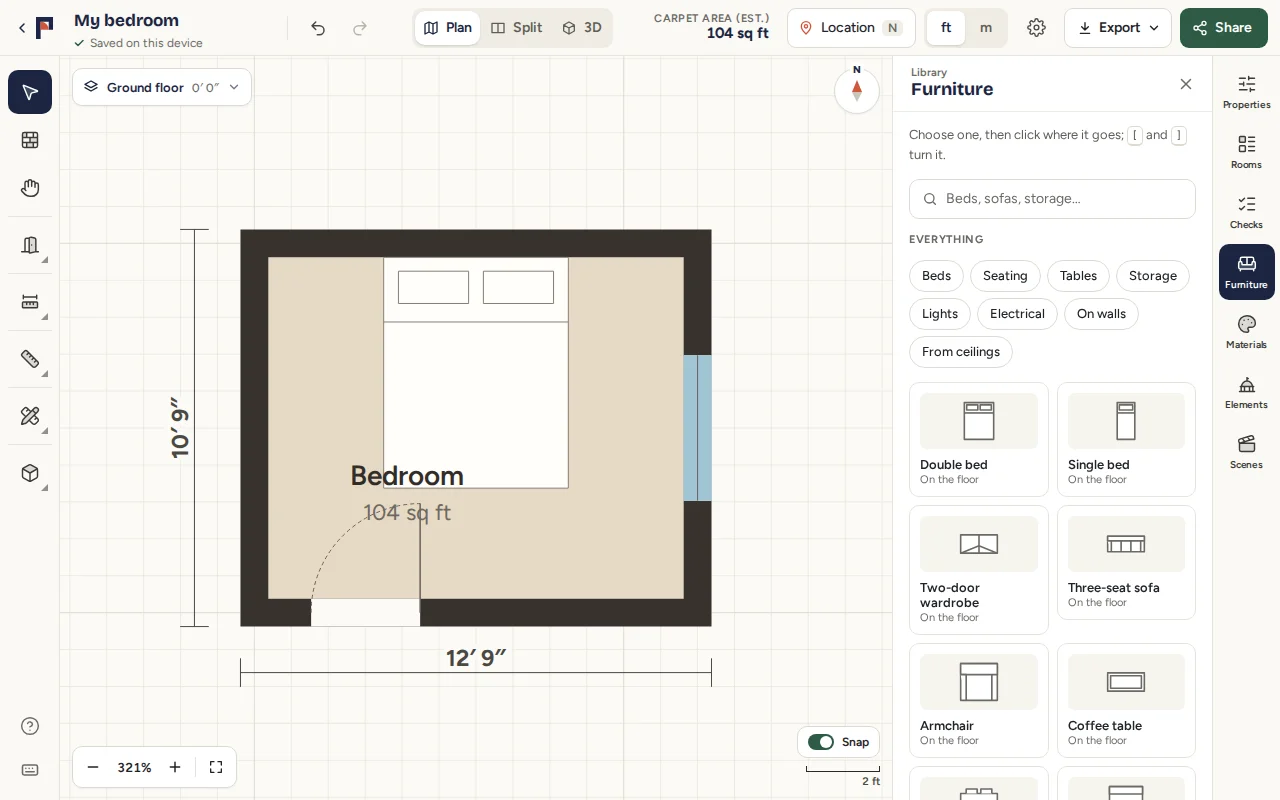
Section titled “Add a bed”On the right, press Furniture. The panel shows the furniture library: beds, sofas, tables, storage, and things that hang on walls or from ceilings.
Click Double bed. The bed now follows the pointer. Move it into the room, towards the top wall: as it nears the wall, it turns to stand with its head against it, facing into the room. Click to put it there. Press Esc to put the tool down.
Before you click, [ and ] turn a piece of furniture 15° at a time, or a quarter turn with Shift. Hold Alt to put it anywhere, even close to a wall without standing against it.
-
See it in 3D
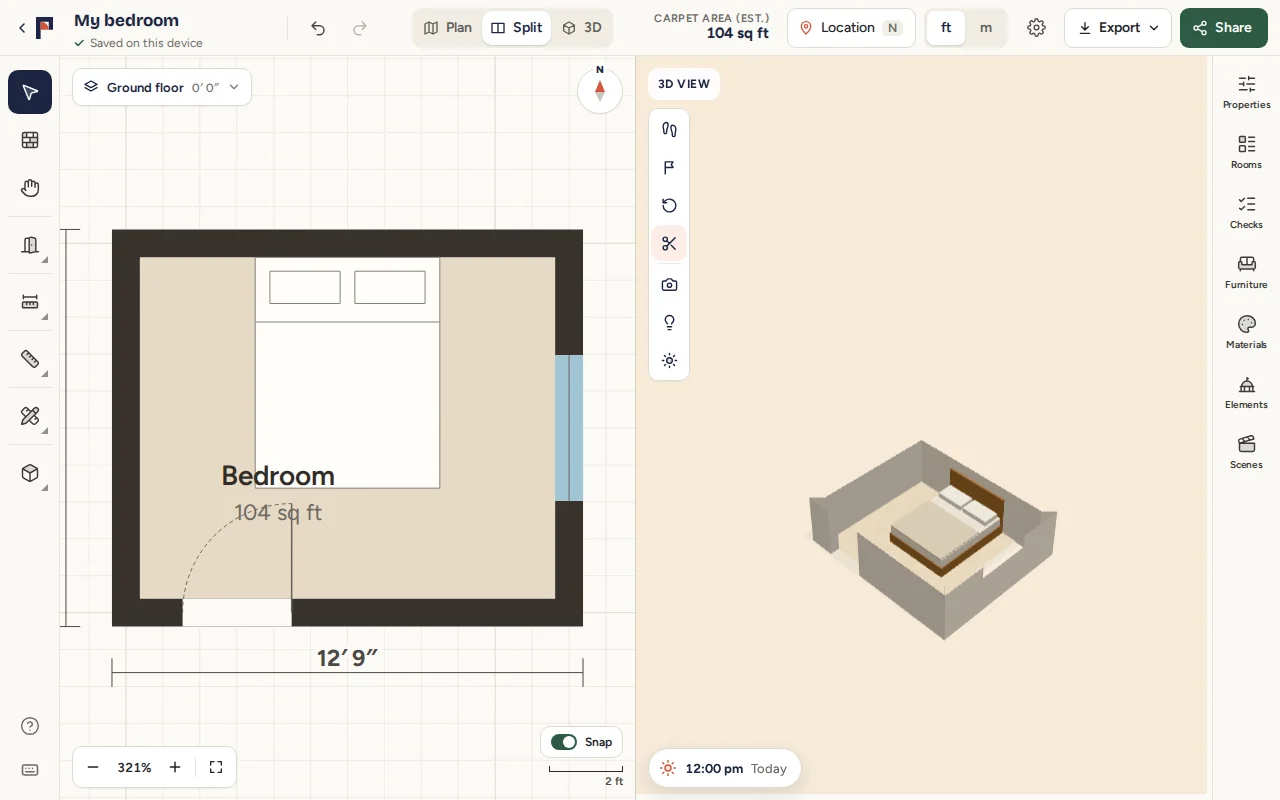
Section titled “See it in 3D”Press Furniture again to close the panel, then press Split at the top. The plan stays on the left, and the 3D view opens on the right.
- Drag in the 3D view to look round the room, and scroll to zoom.
- The buttons down the 3D view’s left side do more. Press the one with scissors, Cut away the walls above 1.2 m, to see inside the room from above, bed and all.
- Walk through (W, A, S, D) puts you in the room at eye height: walk with the W A S D keys.
Everything you change in the plan appears in 3D straight away.
-
Share it
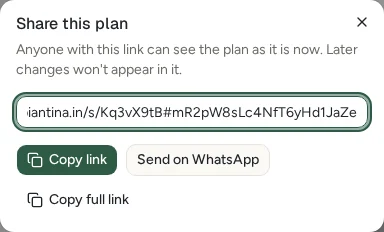
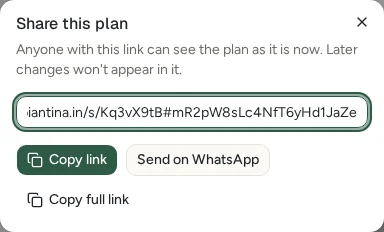
Section titled “Share it”Press Share at the top right. Piantina makes a link to your plan.
- Copy link copies the link, to paste into a message or an email.
- Send on WhatsApp opens WhatsApp with the link in a message.
Whoever opens the link sees the plan and walks round it in 3D, on a phone or a computer. They don’t need an account. The link shows the plan as it is now: changes you make later don’t appear in it, so share again after you change the plan.
-
Find your plan again
Section titled “Find your plan again”You never need to save. Under the plan’s name, Saved on this device appears a moment after each change.
Press the arrow at the top left, Back to your plans. Your bedroom is on the plans page, ready to open again.
Tips and shortcuts
Section titled “Tips and shortcuts”- Undo and redo: Ctrl + Z undoes the last change, and Ctrl + Shift + Z redoes it. On a Mac, use ⌘ for Ctrl.
- Stop: Esc stops whatever you are doing and goes back to Select.
- Finish walls without closing a room: press Enter, or double-click.
- Move round the plan: hold Space and drag, with any tool. Scroll to zoom in and out at the pointer.
- Snap: Snap, at the bottom of the plan, keeps the points you click on the grid and walls at angles of 15°. Wall ends snap onto corners even with it off.
- Every shortcut: press ?, or the Keyboard shortcuts button at the bottom of the toolbar on the left.
If something goes wrong
Section titled “If something goes wrong”The wall went the wrong way. A typed length goes in the direction of the pointer. Press Ctrl + Z, move the pointer the way the wall should go, then type the length again.
A message says You clicked twice in nearly the same place. Click further away, or type the length.
No room appeared. The walls have to close: the last one must end on the corner where the first began. Undo the last wall and click the first corner.
A message says The door or window is wider than the room left on that wall. Type a smaller width, or put it on a longer wall.
The plan is off the screen. Press Fit the plan to the screen at the bottom left.
The 3D view is slow. Open Settings, then the 3D view tab, and set 3D quality to Faster.
Try the finished plan
Section titled “Try the finished plan”Want to compare your bedroom with ours? This opens the plan from this tutorial, as a share link:
Opens Piantina in a new tab, in your language. Keep this page open beside it.
What’s next
Section titled “What’s next”You have used the main tools once each. From here you can:
- add more rooms by drawing walls from the corners and walls you already have;
- open Materials to finish the floor and walls with tiles, stone, wood or paint;
- open Checks to see what Piantina has noticed about the plan, such as a door too narrow or one that hits furniture;
- add a level on top with the Level menu at the top left of the plan.